
Can this compact bathroom plan be approved before the tile buildup, elongated toilet, open vanity drawer, and entry-door arc are drawn at full size? A layout that works only on a simplified plan can lead to relocated rough-ins, replacement orders, or a room that remains awkward after an expensive renovation.
What must be measured before a small bathroom layout can be evaluated?
A small bathroom layout cannot be approved from nominal room dimensions alone. Record finished wall faces, fixed services, openings, ceiling constraints, and selected-fixture dimensions before approving rough plumbing, cabinetry, or shower glass.
Finished dimensions, not framing dimensions, determine whether bathroom fixtures fit
Bathroom clearances should be plotted from the surface required by the applicable rule, typically an adjacent finished wall, fixture, or partition rather than a framing line. In the United States, locally adopted codes and amendments control. Building-code effectiveness depends on adoption and enforcement, so a model-code diagram alone does not establish what a local inspector will accept.
Mark whether each survey dimension reaches drywall, plaster, tile, or another finish. Backer board, waterproofing, wall panels, furring, and corrections for out-of-plumb walls can reduce the final space. The architect or contractor should confirm assembly thicknesses and reasonable construction tolerances. Tile-able shower receptors and other plumbing products must also be checked against the adopted code edition and manufacturer instructions. IAPMO identifies new provisions for tile-able shower receptors and kits among the changes in the 2024 Uniform Plumbing Code, but that edition applies only where adopted.
A measured bathroom plan must include every fixed obstruction
Create a scale drawing that separates existing conditions, demolition assumptions, and proposed finished surfaces. The field survey should record:
- Finished wall-to-wall dimensions and diagonals.
- Door width, swing, casing, hardware, window position, and sill height.
- Ceiling height, soffits, ledges, radiators, chases, and floor-level changes.
- Drains, supply lines, vents, stacks, joist direction, slab penetrations, and exterior walls.
Record active leaks, condensation, and damp materials during the survey. The U.S. Environmental Protection Agency recommends correcting wet or damp areas promptly rather than concealing them behind new finishes. Once the survey defines the true envelope, the next test is how much clearance the toilet, vanity, shower, and bathtub actually need.
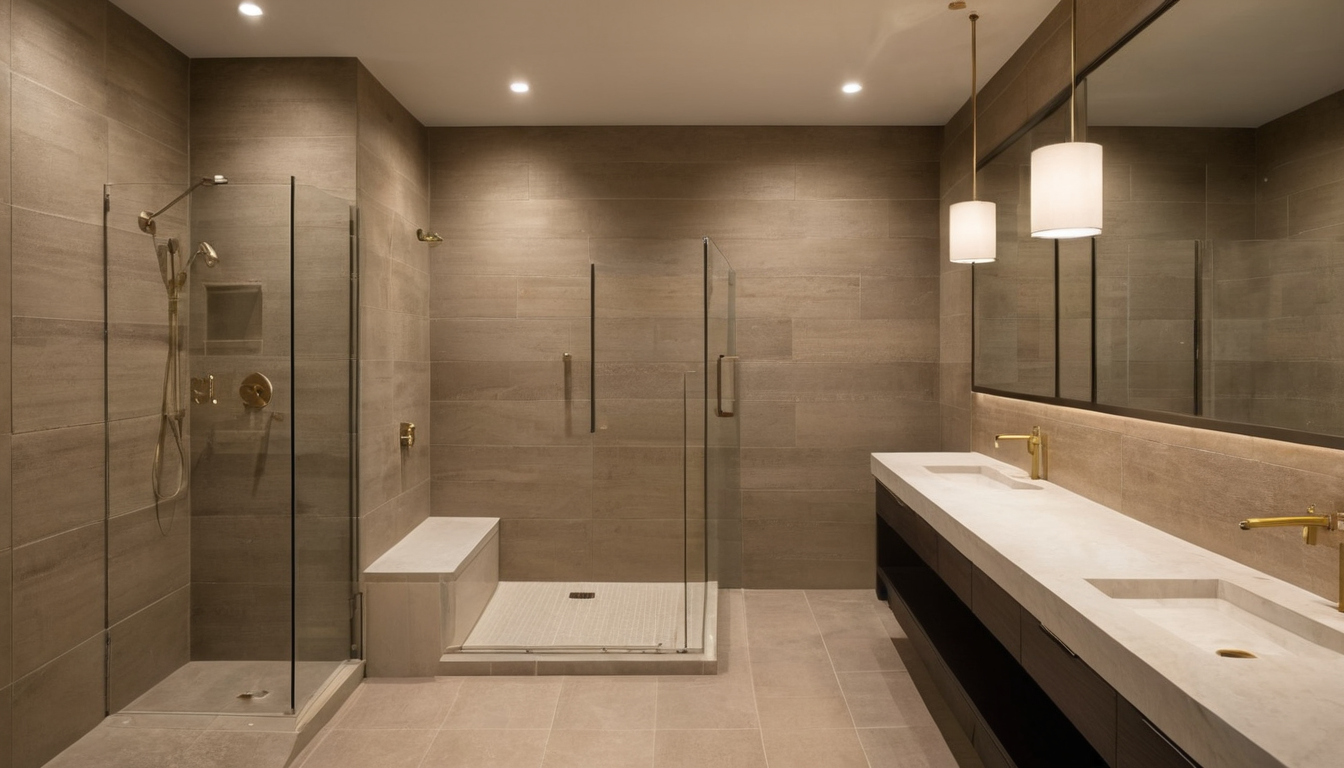
What must be measured before a small bathroom layout can be evaluated shown as a planning reference for layout, scale, and material decisions.
How much clearance do a toilet, vanity, shower, and bathtub actually need?
Each fixture needs two dimensions: its physical footprint and an unobstructed use zone. Enforceable minimums come from locally adopted building and plumbing codes. Larger comfort targets come from planning guidance or the project brief. Treat typical dimensions as preliminary checks, then verify the adopted code and selected-product drawings.
Jurisdiction matters. Illinois, for example, directs project teams to confirm applicable codes and amendments with the city, village, or county code official. The Illinois Capital Development Board also distinguishes among commercial buildings, residential jurisdictions with or without adopted codes, and certain government-owned, leased, or financed residential properties. Accessibility requirements therefore should not be assumed to apply identically to every private bathroom.
Toilet clearance must be measured from the toilet centerline and its actual projection
Many residential codes use 15 inches minimum from the toilet centerline to a side wall, vanity, tub, or other obstruction, with at least 21 inches clear in front. A more comfortable layout often provides approximately 18 inches at each side and 30 inches in front. These are planning references, not substitutes for the locally enforceable code.
- Plot the toilet from its centerline, not from the bowl edge.
- Check the actual projection. Floor-mounted toilets commonly project roughly 27 to 31 inches, even when both are described as compact.
- Confirm the rough-in, supply location, tank clearance, seat height, and service access.
- For a wall-hung toilet, include the concealed carrier, required wall depth, adjustment range, and flush-panel access.
Vanity width alone does not describe the space required to use it
A nominal 18-, 24-, or 30-inch vanity can have a deeper top, an offset basin, projecting hardware, or drawers that collide with trim. Provide the locally required front clearance, then test a planning zone of roughly 30 inches where adults must stand, bend, and open storage.
- Measure from the countertop’s front edge, not the cabinet box.
- Draw every drawer fully extended and reserve the plumbing void behind it.
- Check faucet operation, medicine-cabinet swing, side splashes, and door casing.
- If accessible design applies, the 2010 ADA Standards use a 30-by-48-inch clear floor space for wheelchair positioning. ADA requirements do not automatically govern every private residence.
Shower size must account for the enclosure, entry, controls, and finished interior
A shower’s listed base size is not necessarily its finished usable size. Common model-code baselines include a 30-inch minimum internal dimension and 900 square inches of area, but adopted plumbing codes can differ. The Uniform Plumbing Code is a model code and applies only where the jurisdiction has adopted it, including any local amendments.
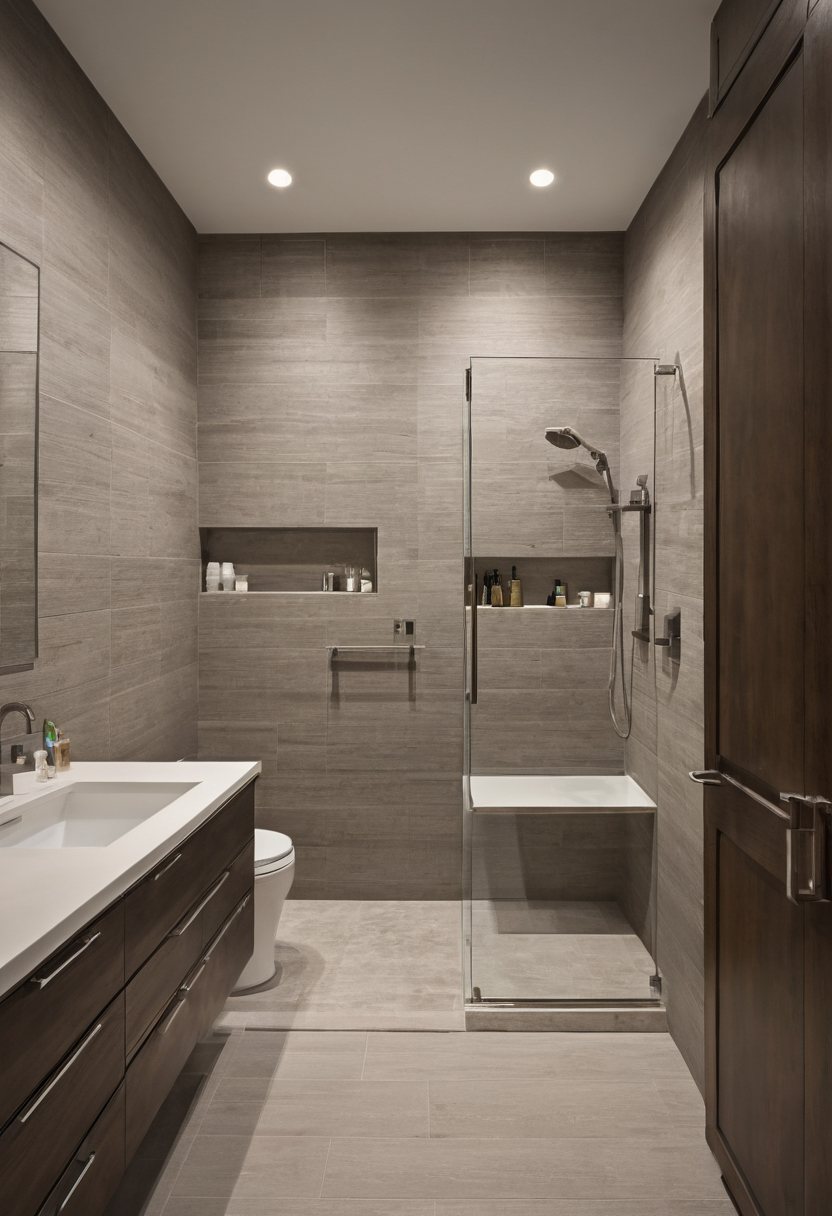
How much clearance do a toilet, vanity, shower, and bathtub actually need shown with floor, wall, and fixture relationships visible.
- Deduct tile, backer, waterproofing buildup, benches, and projecting controls.
- Test entry width and the user’s path to controls without requiring the user to stand under the spray.
- For a tub, measure from the finished apron and reserve standing space along the access side.
- For children, aging in place, or mobility limitations, enlarge the use zone and specify grab-bar backing before walls close.
Those stationary clearances are only the first test. Bathroom doors, drawers, and shower screens need separate movement zones.
Bathroom doors, drawers, and shower screens need separate movement zones
A compact bathroom may satisfy static fixture clearances and still fail during use. The entry door, vanity drawers, cabinet doors, toilet user, shower screen, window, and towel storage can occupy the same area at different times. Overlay every swing, pullout, standing position, and emergency-access condition before products are ordered.
An inward-swinging bathroom door must not consume the only usable standing area
Draw the entry door at full leaf width and show the frame, casing, hinge position, handle projection, and complete swing arc. Then test whether the open leaf blocks the vanity, toilet, shower entrance, or the standing area needed to close the door from inside.
- Inswing: Usually preserves hallway circulation but can consume bathroom floor area and complicate emergency access.
- Outswing: Frees interior space but may obstruct a corridor or conflict with another door.
- Barn-style door: Avoids a swing arc but provides weaker acoustic and visual privacy, requires clear wall surface, and needs carefully detailed floor and wall transitions.
The project team should confirm locally applicable door width, landing, direction-of-travel, accessibility, and egress requirements. Where emergency access is part of the brief or local rules, assess whether a collapsed occupant could prevent an inward-swinging door from opening.
A pocket door saves swing space only when the wall cavity is available
A pocket door works only after the receiving wall has been surveyed for plumbing, vent piping, wiring, electrical boxes, structural framing, and accessory blocking. Manufacturer drawings determine the rough opening, frame thickness, track support, and service access.
Specify the privacy latch and edge pull early. Soft-close hardware can improve control, but the selected pull must remain easy to operate. A surface slider may be more practical where the wall cavity cannot be cleared, although privacy and wall-mounted storage remain constrained.
Shower glass and vanity storage must be tested in their fully open positions
Overlay each selected product’s operating envelope rather than relying on a generic fixture symbol:
- Full drawer extension, cabinet-door swing, pulls, and medicine-cabinet projection.
- Shower-door radius or sliding-panel opening from the enclosure drawing.
- Glass hinges, handles, support conditions, faucets, towel bars, and toilet-seat movement.
- Window sash movement and projecting hooks or storage hardware.
Once these collisions are visible, the next test is whether common compact bathroom footprints can support the corrected arrangement.
Which compact bathroom footprints can support a workable fixture arrangement?
Common bathroom footprints are starting points, not guaranteed solutions. A nominal 5-by-8-foot room, square shower room, and narrow ensuite behave differently after finishes, fixture projections, plumbing routes, and moving components are plotted. The following examples are planning tests, not universal code-compliant plans.
A nominal 5-by-8-foot bathroom works only when fixture depth and door placement cooperate
Example A assumes finished dimensions of 60 by 96 inches. The working schedule includes a 60-by-30-inch tub-shower across the rear wall, a 28-inch-projecting toilet, a 24-inch-wide by 18-inch-deep vanity, and a 30-inch entry door. Plot the toilet centerline, required side spacing, front clearance, tub entry, door arc, and vanity drawer at full extension.
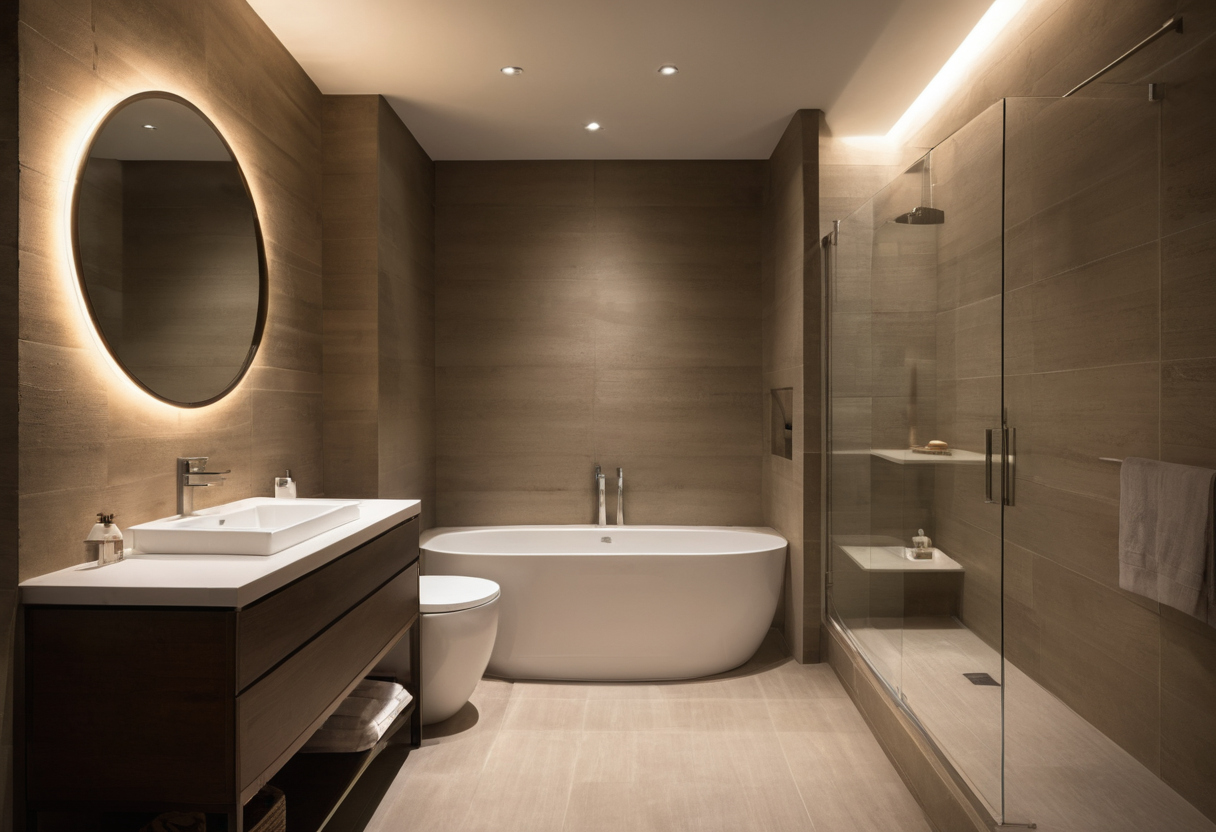
Which compact bathroom footprints can support a workable fixture arrangement shown as an editorial reference for proportion and finish coordination.
This arrangement can work when the vanity and toilet share one long wall and the door swing avoids their use zones. Substituting a 31-inch-projecting elongated toilet or 21-inch-deep vanity removes several inches from the central passage and may create a door collision. A renovation must also respect the existing toilet drain and tub plumbing wall. New construction offers more freedom to coordinate those rough-ins.
Is a 5-by-5-foot bathroom large enough for the required fixtures?
Example B1 tests a 60-by-60-inch finished powder room. A 27-inch-projecting toilet centered 16 inches from a side wall, an 18-by-18-inch wall-mounted basin on the adjacent wall, and a 28-inch outward-opening door can preserve a usable central standing area. The basin has no drawer extension, but its faucet, trap, and user zone still require verification.
Example B2 adds a 36-by-36-inch corner shower to the same footprint. With the scheduled toilet and basin, the shower entry and toilet use zone overlap. That version fails the collision audit unless different products, door locations, or room dimensions produce a layout accepted under the locally adopted code. Ventilation and plumbing routes can disqualify an arrangement that appears to fit geometrically.
A narrow ensuite benefits more from controlled projections than from smaller labels
Example C assumes a 54-by-108-inch finished room with a 36-inch-deep shower across the end, a 27-inch-projecting toilet, and an 18-inch-deep vanity arranged along one wall. Opposing the vanity and toilet would leave only 9 inches between their projections, so the in-line arrangement is more defensible. A 16-inch drawer extension still narrows the passage, while an inward-swinging 28-inch door consumes the entry standing zone.
A pocket or outward-opening door may improve movement where wall construction and local rules permit. Two users, mobility aids, dressing space, or aging-in-place goals require a larger test envelope. Lighting, finish curing, and ventilation also need coordination during construction. The ENERGY STAR program reports that qualified LED lighting uses at least 75 percent less energy and lasts up to 25 times longer than incandescent lighting, although fixture dimensions, wet-location ratings, and maintenance access still control placement. The next audit asks where storage can fit without taking that circulation back.
Small bathroom storage must preserve circulation and usable reach
Storage improves a small bathroom only when it does not reduce fixture clearance, block controls, or project into head and shoulder space. Recessed cabinets, shallow drawers, wall-mounted shelves, and niches should follow a measured reach and maintenance plan based on the bathroom’s users, daily supplies, and cleaning needs.
Inventory towels, toiletries, grooming appliances, cleaning products, spare supplies, and the waste container before selecting cabinetry. Record each product’s depth, mounting height, door or drawer movement, electrical needs, and attachment requirements. The U.S. Environmental Protection Agency identifies cleaning products, building materials, paints, varnishes, waxes, and furnishings as potential indoor VOC sources, so chemical storage and ventilation deserve attention.
Recessed storage saves projection only when the wall construction permits it
A recessed cabinet or niche requires a verified wall cavity, not an assumed empty rectangle. Check stud depth and spacing, plumbing vents, supply lines, wiring, insulation, waterproofing, and any required fire or acoustic assembly. Compare those conditions with the selected product’s rough opening, flange, mirror swing, and electrical instructions.
- Recessed: Produces the lowest projection but remains vulnerable to concealed services and structural conflicts.
- Wall-mounted: Allows flexible placement, but shelf depth and head clearance need testing.
- Vanity: Keeps daily items convenient, provided drawers clear traps, doors, and users.
- Over-toilet: Uses vertical space but creates difficult reach and falling-object risks.
- Niche: Works in wet zones only with coordinated framing, slope, and waterproofing.
- Freestanding: Is easy to procure but often consumes circulation and complicates cleaning.
Bathroom storage should be tested against actual user reach zones
Mounting heights should reflect stature, mobility, dexterity, child safety, and shared use. Frequently handled items should not require reaching across a toilet or wet floor. Apply formal accessibility reach ranges only when the project’s governing standard or brief requires them.
Plot shelves, hooks, towel bars, outlets, mirrored doors, and handles in elevation as well as plan. Verify shelf loading, anchorage, concealed plumbing, and applicable safety-glazing or product-listing requirements for mirrored doors. Once storage is fixed, ventilation, glazing, and electrical rules may still override the compact plan.
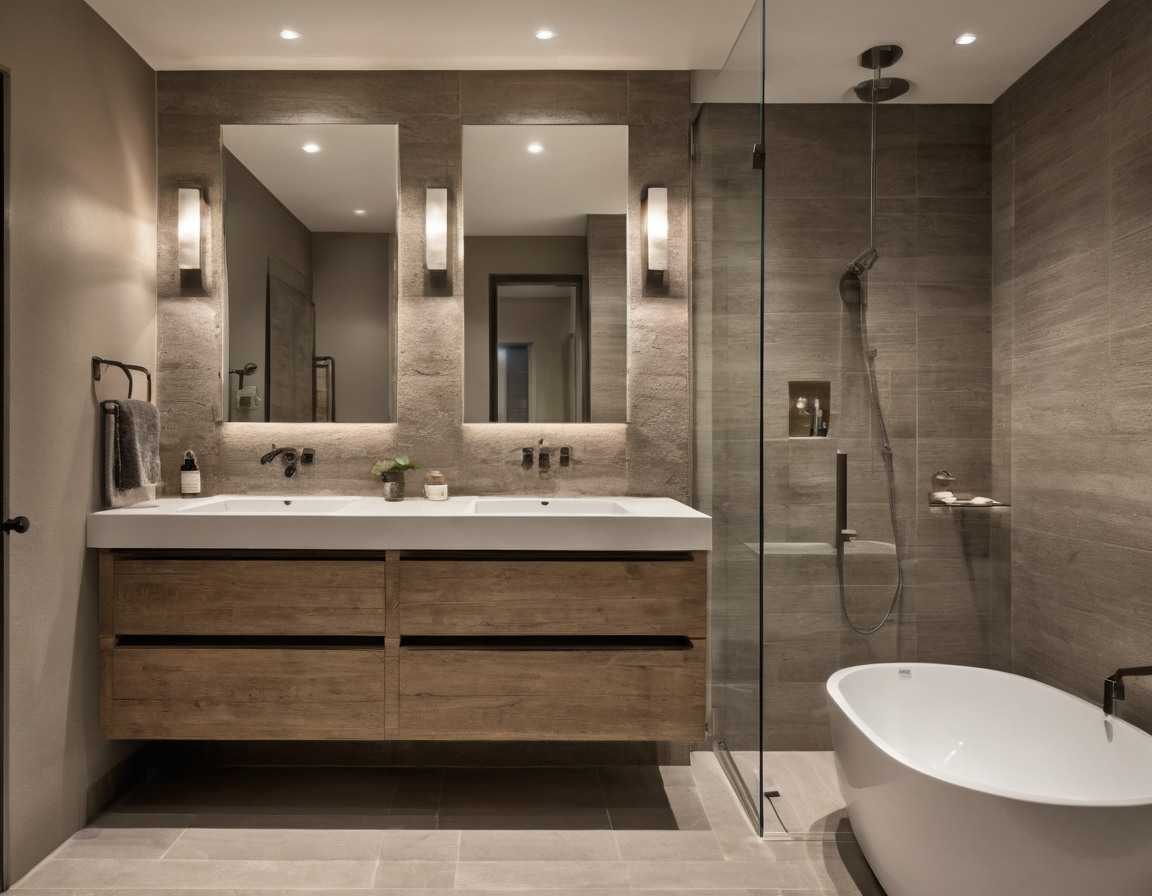
Small bathroom storage must preserve circulation and usable reach shown with floor, wall, and fixture relationships visible.
Ventilation, glazing, and electrical rules can override a compact bathroom plan
A fixture layout is not ready for approval until the project team checks ventilation openings, safety glazing, lighting, receptacles, and wet-location equipment. Requirements vary by jurisdiction and building type, while product clearances vary by listing. These constraints can change shower placement, window treatment, mirror size, cabinetry, and the available door wall.
The locally adopted electrical code may control receptacle locations, GFCI protection, bathroom branch circuits, switches, luminaires, and equipment within tub or shower zones. Confirm installation requirements for lighted mirrors, medicine cabinets, heated towel rails, exhaust fans, and wet-location lighting before setting electrical boxes or ordering cabinetry.
Bathroom windows near tubs and showers may require safety glazing and water-resistant detailing
Window review should record the glass certification, sill height, opening method, frame material, and exact relationship to the tub, shower, door, and walking surface. Applicable safety-glazing rules include specific dimensional triggers, so the local code official must confirm the governing provisions. The selected window and wall assembly also need compatible waterproofing, trim, privacy, and enclosure details rather than field-applied improvisation.
A bathroom exhaust route must be feasible before the ceiling plan is fixed
The locally adopted mechanical or residential code determines ventilation rates, permitted operable-window alternatives, and exhaust termination requirements. Fan selection must then account for airflow, sound rating, duct diameter, run length, ceiling-cavity depth, makeup-air path, and the manufacturer’s installation limits.
Exterior walls, multifamily shafts, apartments, and historic buildings can restrict new penetrations or require landlord, association, or preservation approval. Resolve the duct route and termination before fixing lights, framing, or shower glass. Once these related constraints pass review, the bathroom layout still needs a full-scale approval checklist before construction.
A bathroom layout should pass a full-scale approval checklist before construction
The safest approval method combines a dimensioned plan, selected-product schedule, movement overlay, and full-scale site mock-up. Before rough-in, the homeowner and contractor should verify finished clearances, operating components, storage access, plumbing feasibility, and permit requirements. Any late fixture substitution requires another layout review.
- Field survey: Record finished wall faces, openings, obstructions, and existing plumbing.
- Code review: Confirm locally applicable building, plumbing, electrical, glazing, and ventilation requirements.
- Schematic options: Test fixture arrangements before committing to products or rough-ins.
- Product schedule: Select fixtures and record lead times, return restrictions, and discontinued-product risks.
- Dimensioned plan: Show centerlines, clear floor zones, door and drawer arcs, elevations, mounting heights, and product references.
- Trade coordination: Obtain input from the designer, architect where engaged, plumber, electrician, tile installer, glass fabricator, cabinetmaker, and permit reviewer.
- Mock-up: Test the layout at full scale.
- Approval: Record who verified dimensions and accepted the plan.
- Rough-in verification: Check drains, supplies, wiring, blocking, and openings before walls close.
- Pre-installation recheck: Confirm delivered products against approved drawings.
Complete this sequence after you decide the bathroom remodel scope before ordering fixtures.
Approve the room only when the measured space, specified products, moving parts, and construction sequence agree.